How to install boto3 in Windows on NSIS Cloud
Introduction
The boto3 library for Python can be used to list and download items from a specified S3 bucket or from the EODATA repository. In this article, you will install boto3 on a Windows system.
Step 1: Ensure that Python 3 is preinstalled
On a desktop Windows system
To run boto3, you need to have Python installed.
If you are running Windows on a desktop computer, the first step of this article shows how to install Python: How to install OpenStackClient GitBash for Windows on NSIS Cloud.
On a virtual machine running in NSIS Cloud cloud
Virtual machines created in the NSIS Cloud cloud usually have Python 3 already preinstalled.
If you want to create your own Windows VM, two steps are involved:
Log in to your NSIS Cloud hosting account with access to the Horizon interface: https://horizon.cloudferro.com/.
Use an existing Windows instance or create a new one.
For more information, see Connecting to a Windows VM via RDP through a Linux Bastion Host port forwarding on NSIS Cloud.
Step 2: Install boto3 on Windows
To install boto3 on Windows:
Log in as administrator.
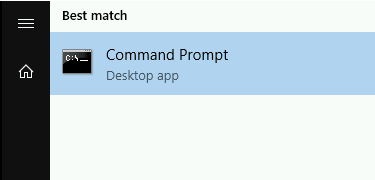
Click the Windows icon in the bottom-left corner of your desktop.
Find Command Prompt by entering cmd.
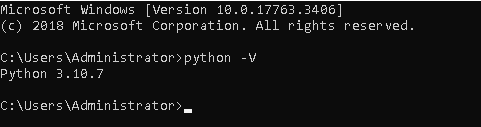
Verify that you have an up-to-date Python installation:
python -V
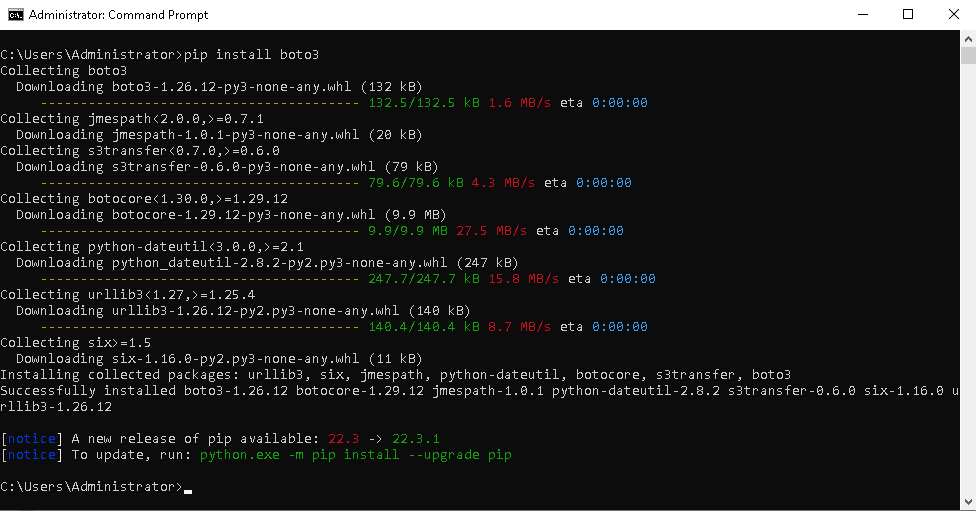
Install boto3 with the following command:
pip install boto3
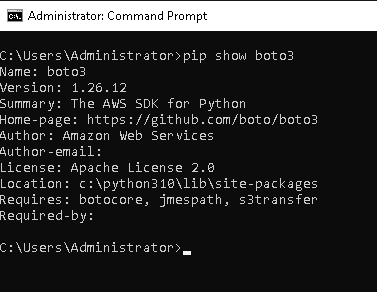
Verify the installation:
pip show boto3
What to do next
With the boto3 library, you can download and list satellite images from buckets or from the EODATA repository.